Roles
The Roles feature in the Administration module allows administrators to manage and customize system roles, ensuring that users have the appropriate permissions to perform their duties within the system. This feature is essential for controlling access and maintaining the security of the application, as it defines what each user role is allowed to do within the system.
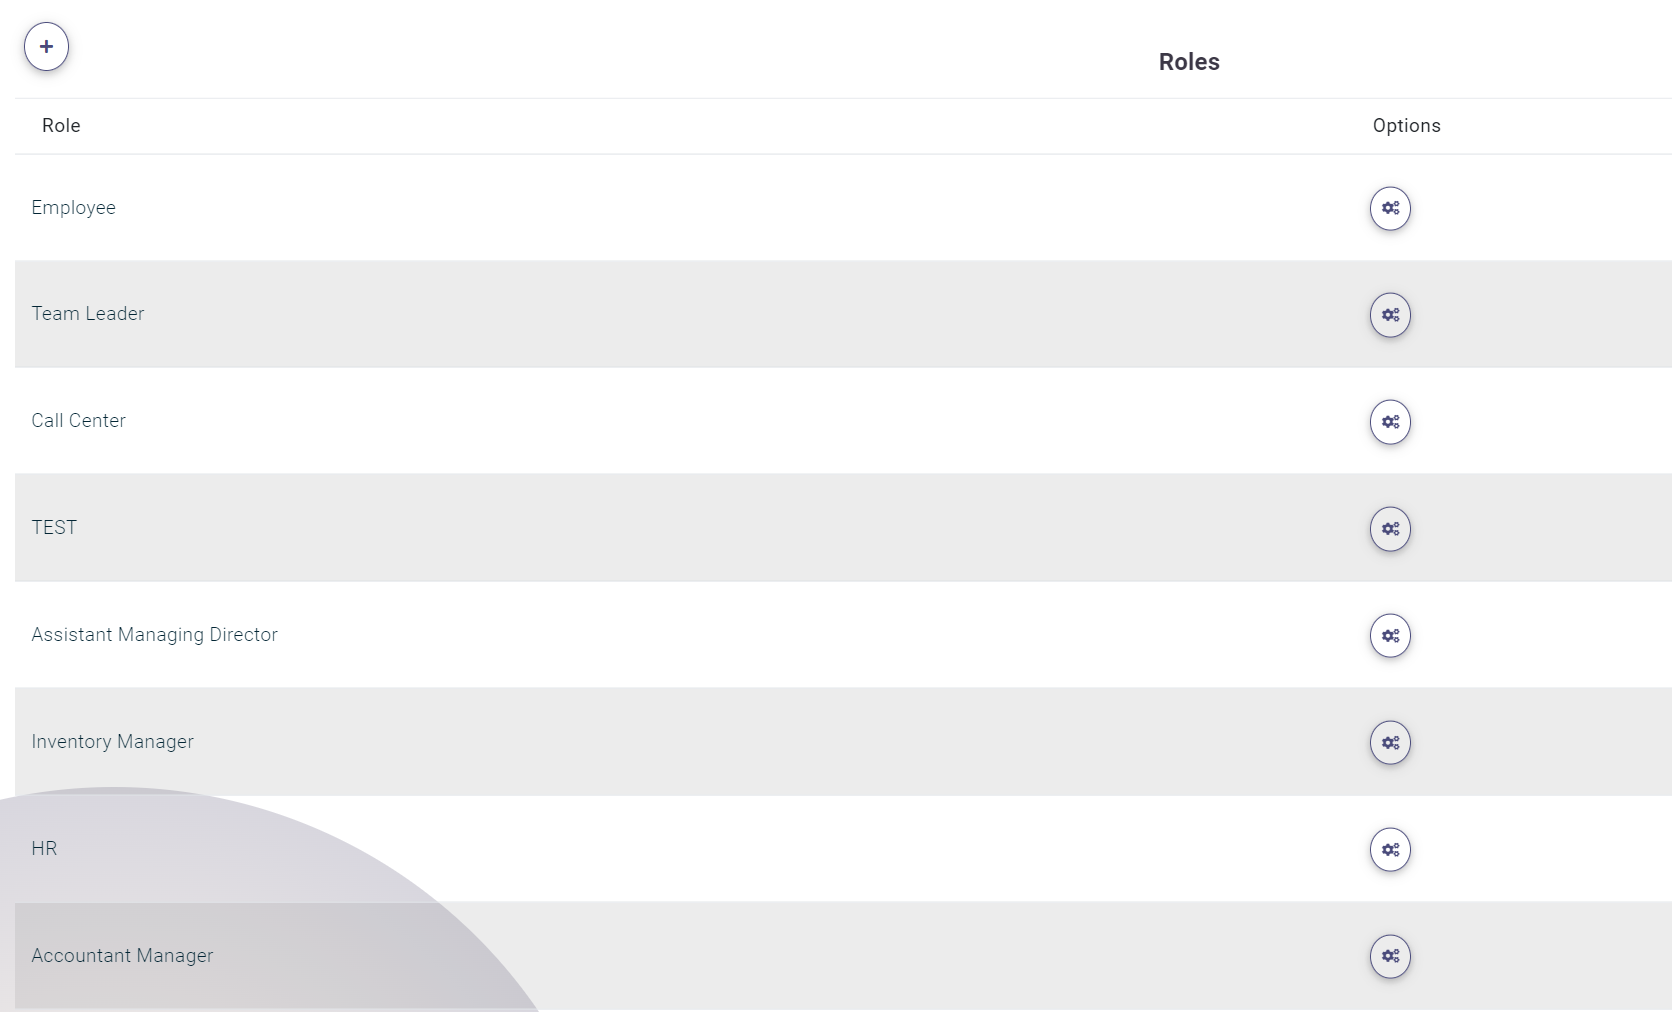
To manage roles, navigate to the Roles list under the Administration menu.
Adding a New Role
- Accessing the Roles List:
- Go to the Administration menu and select the Roles option to view a list of existing roles.
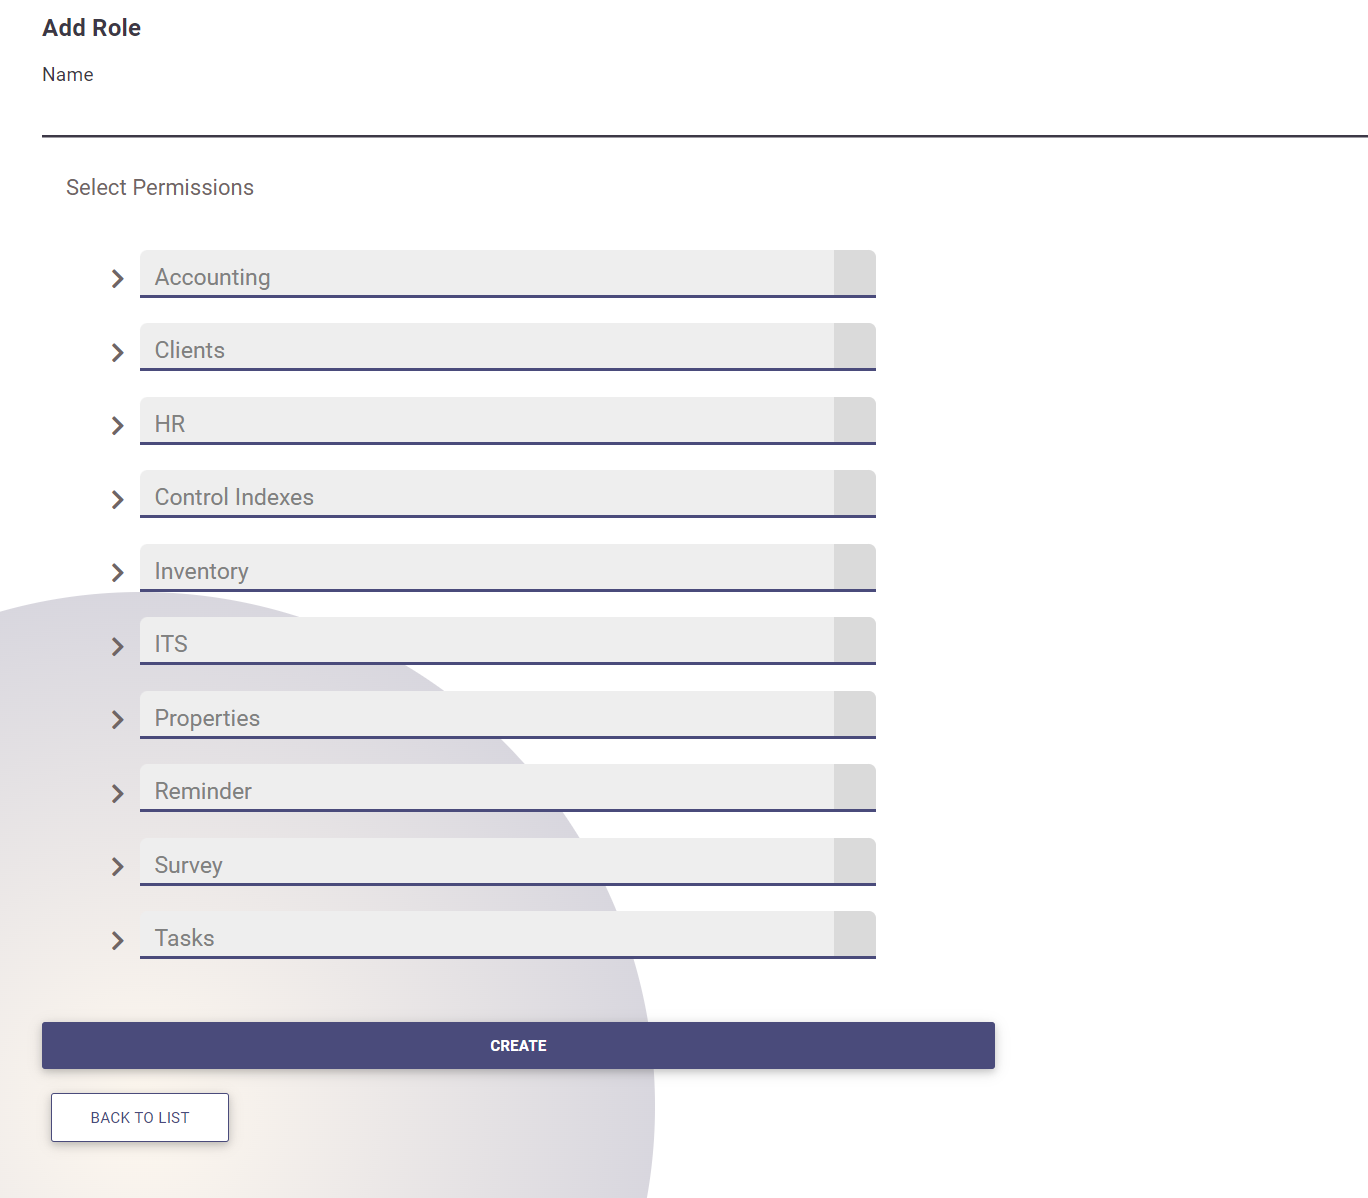
- Creating a New Role:
- Click on the plus (+) icon at the top of the Pages.
- Fill in the Role Name field to define the name of the new role.
- Assigning Permissions:
-
The system will display all available permissions, which are categorized by different operations within the system. Typically, permissions follow this format:
- Read Entities
- Create Entity
- Update Entity
- Delete Entity
- Permissions are organized into logical groups and displayed in a tree view format. You can check a root permission to automatically assign all its nested permissions to the role.
-
The system will display all available permissions, which are categorized by different operations within the system. Typically, permissions follow this format:
- Finalizing the Role:
- After setting the role permissions, click on Create to save the new role. The role will then be available for assignment to users.
Default Roles
To ensure the system functions correctly, the following roles are expected to exist by default:
- Employee
- HR
- Accountant Manager
- Accountant Assistant
- Manager
- Team Leader
- Client
- Admin
While administrators have the flexibility to customize these roles, the Admin role remains non-editable to safeguard critical system functions.
For a detailed explanation of each permission, access the full list of permissions explained here.